Strapi
In this document, you’ll learn how to integrate Strapi with Medusa to add rich Content Management System (CMS) functionalities.
This plugin is a community plugin and is not managed by the official Medusa team. At the moment, it supports v4 of Strapi.
Overview
Strapi is an open source headless CMS service that allows developers to have complete control over their content models. It can be integrated into many other frameworks, including Medusa.
By integrating Strapi to Medusa, you can benefit from powerful features in your ecommerce store including detailed product CMS details, two-way sync, an easy-to-use interface to use for static content and pages, and much more.
Prerequisites
Medusa CLI
Medusa’s CLI tool is required to set up a new Medusa backend.
Redis
Redis is required for the Strapi plugin to work as expected on your Medusa backend. If you don’t have it installed, you can learn how to install it in this documentation.
Create Strapi Project
The first step is to create a Strapi project using the Medusa template:
This creates the Strapi project in the directory strapi-medusa.
Once the installation is finished, the Strapi development backend will run on localhost:1337. A new page will also open in your default browser to create a new admin user and log in.

Once you log in, you can access the Strapi dashboard.
Create a Strapi User
The Strapi plugin in Medusa requires the credentials of a Strapi user. To create a new user, go to Content Manager, then choose User under Collection Types.
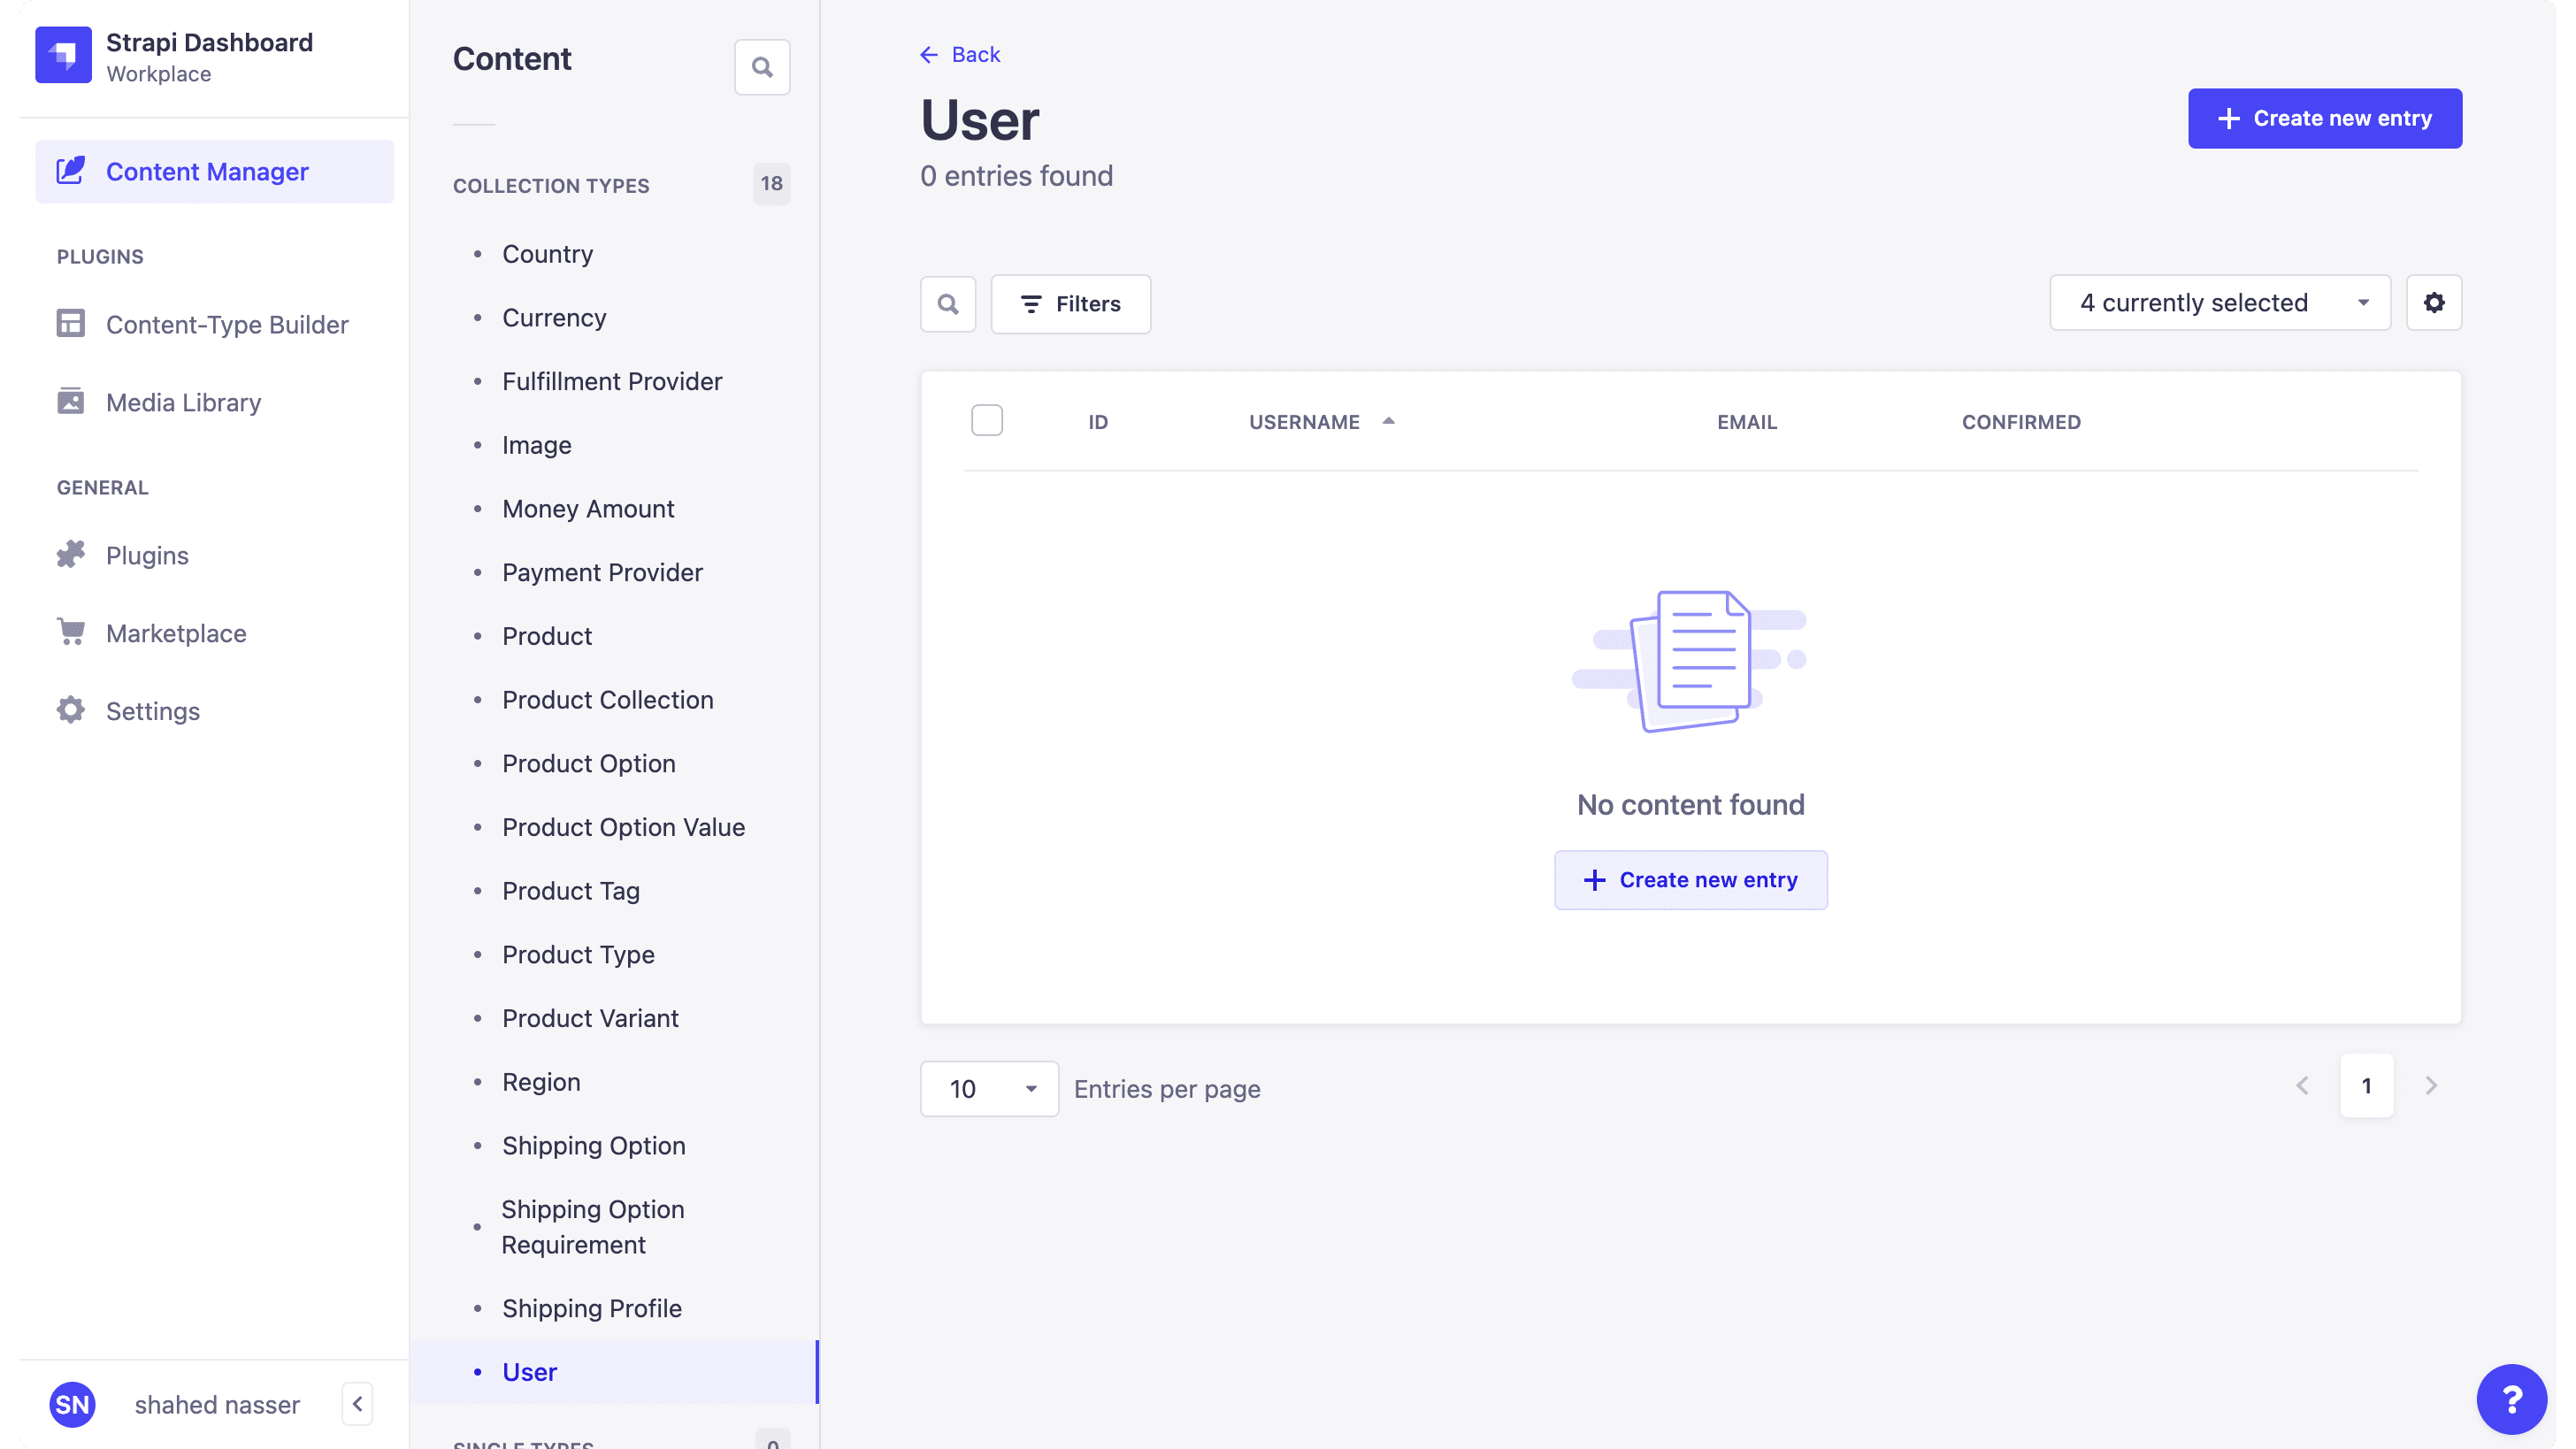
Click on the Create new entry button at the top right. This opens a new form to enter the user’s details.
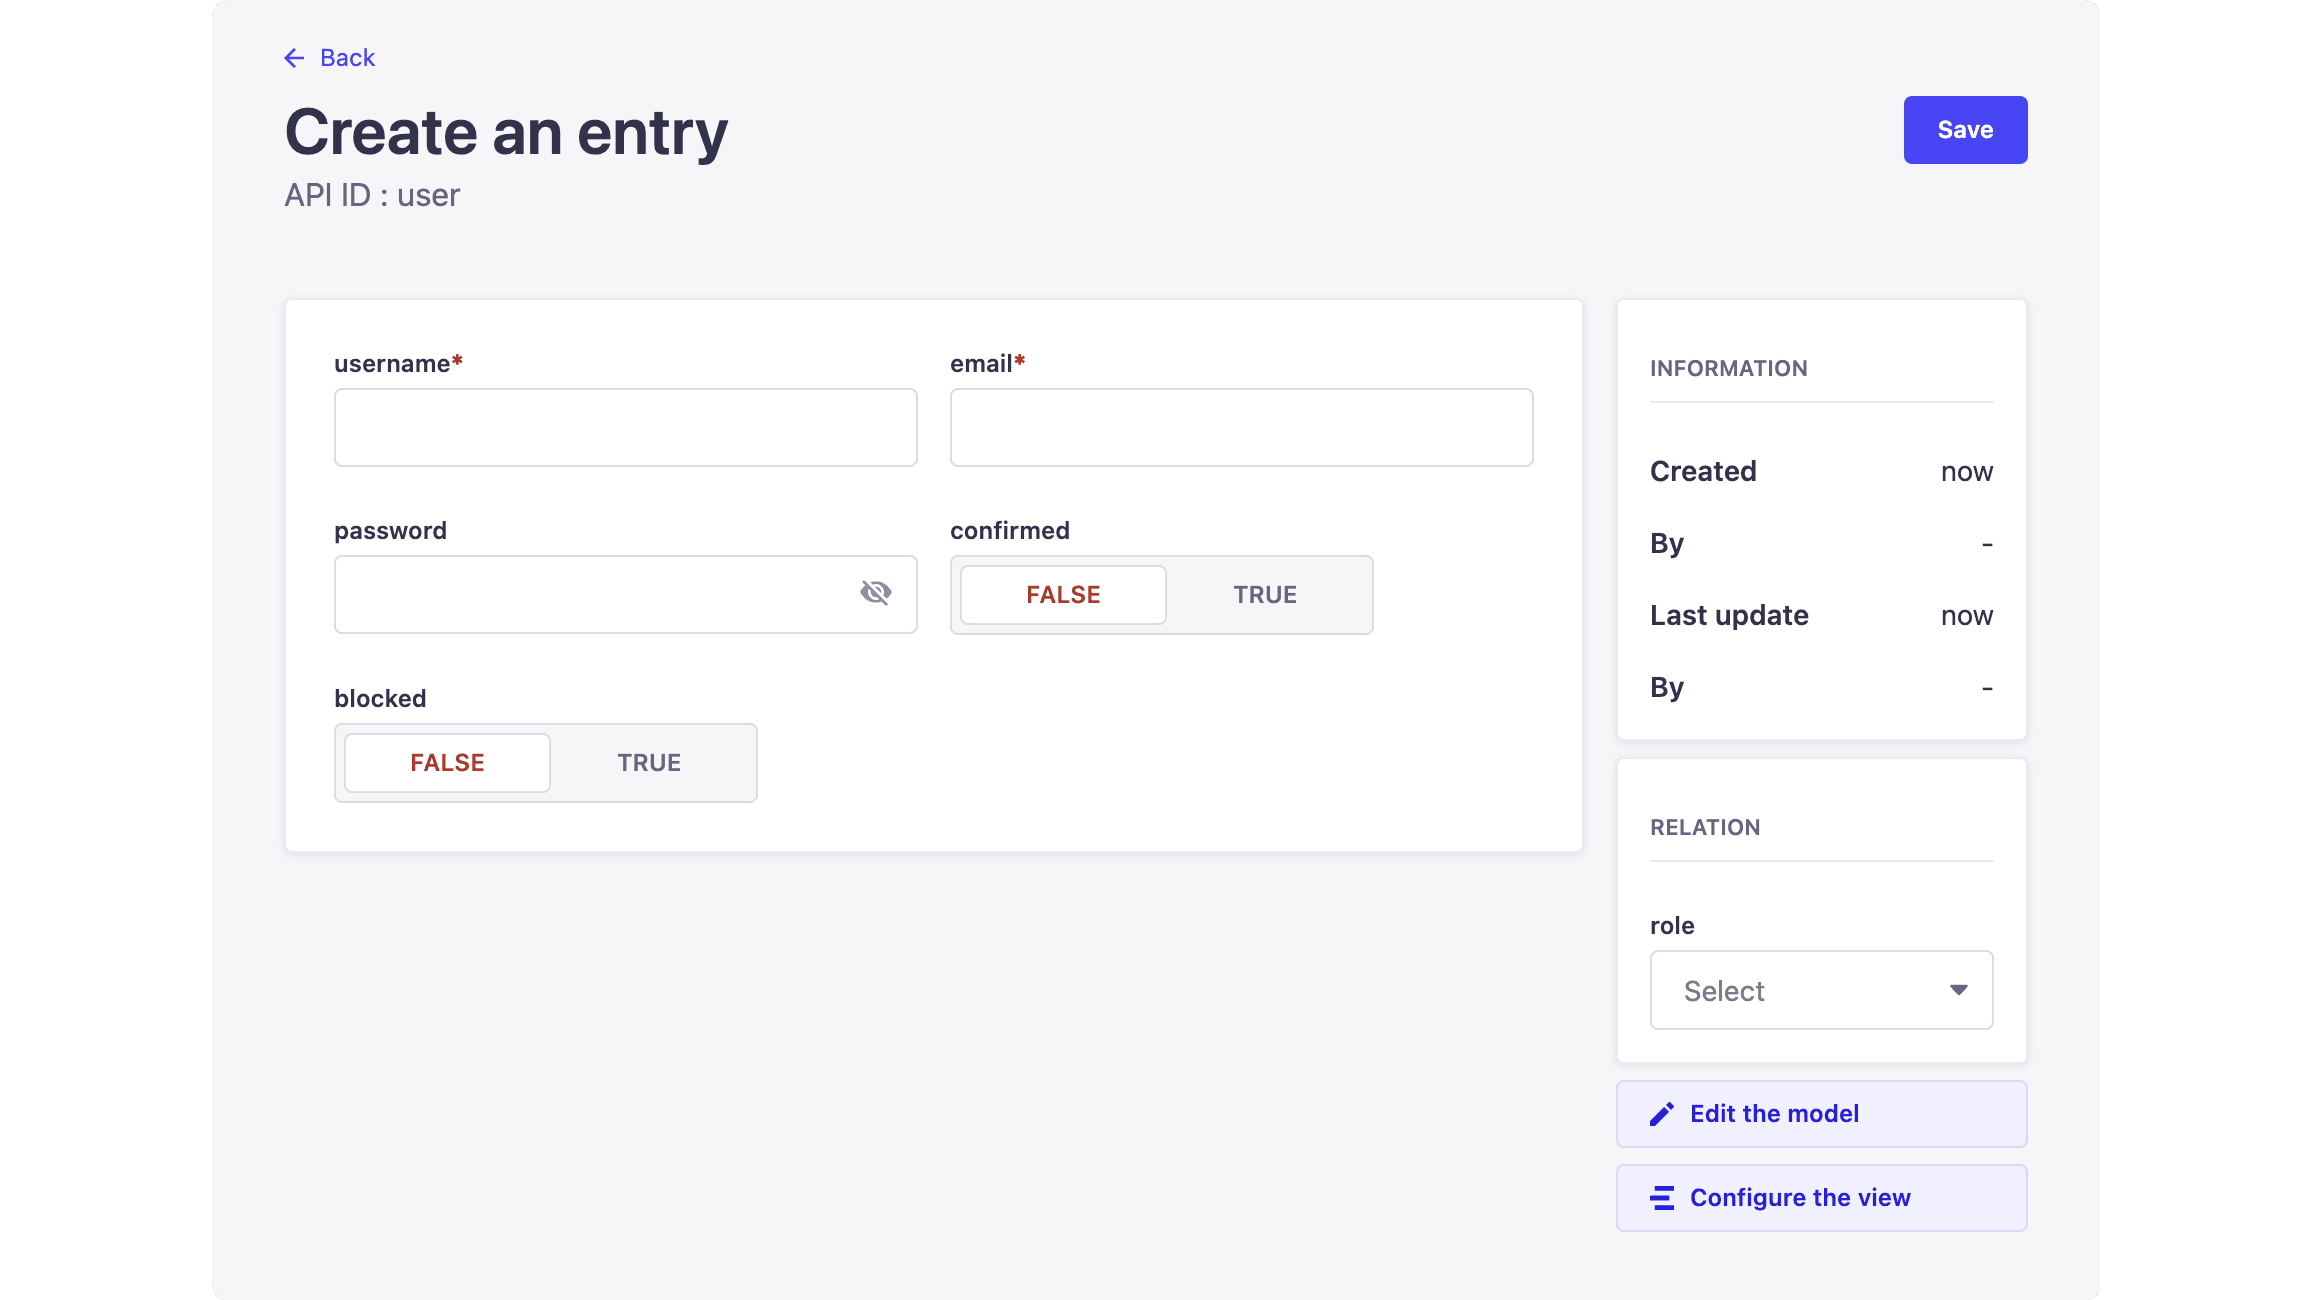
Enter the user’s username, email, and password. Once you’re done, click on the Save button at the top right.
Modify Permissions
By default, created users have the “Authenticated” role. Before you start using the Strapi plugin on your Medusa backend, you must modify this role’s permissions to allow making changes to Medusa’s models in Strapi.
On your Strapi dashboard, go to Settings → Roles → Authenticated. Then, under the Permissions section, expand the accordion of each content model type and check the Select All checkbox.

Once you’re done, click the Save button at the top right.
Create Medusa Backend
You can use the Strapi plugin on an existing Medusa backend, however, existing data (such as existing products) will not be imported. Only newer data will be imported.
To create your Medusa backend, run the following command:
Configure your Backend
Once the command is done executing, change to the newly created medusa-backend directory:
You must then configure your backend to:
- Connect to a PostgreSQL database, as explained here
- Install and configure an event-bus module, as explained here
Run Migrations
After configuring the connection to the database, you must run migrations to add the necessary database schema definitions in your database. To do that, run the following command in the medusa-backend directory:
You can optionally seed your database with demo data by running the seed command:
Install the Strapi Plugin
In the directory of your Medusa backend, run the following command to install the Strapi plugin:
Then, add the following environment variables:
Where:
<STRAPI_IDENTIFIER>is either the email address or username of the user you created in the previous step.<STRAPI_PASSWORD>is the password of the user you created in the previous step.<STRAPI_PROTOCOL>is the protocol of your Strapi backend. If you’re using a local Strapi backend, set this tohttp. The default value ishttps.<STRAPI_URL>is the URL of your Strapi backend. By default, the URL islocalhost.<STRAPI_PORT>is the port the Strapi backend runs on. By default, the port is1337.
Finally, open medusa-config.js and add the following new item to the plugins array:
const plugins = [
  // ...
  {
    resolve: `medusa-plugin-strapi`,
    options: {
      strapi_medusa_user: process.env.STRAPI_USER,
      strapi_medusa_password: process.env.STRAPI_PASSWORD,
      strapi_url: process.env.STRAPI_URL, // optional
      strapi_port: process.env.STRAPI_PORT, // optional
      strapi_protocol: process.env.STRAPI_PROTOCOL, // optional
    },
  },
]
Run Medusa Backend
Make sure the Strapi backend is still running. If not, you can run the following command to run the Strapi backend in the directory of the Strapi project:
Then, in the directory of your Medusa backend, run the following command to start the Medusa backend:
Once you start your Medusa backend, if you ran the --seed command when you created your Medusa backend, you’ll see that product.created events have been triggered along with similar events. This will update Strapi with the products you seeded.
Test Two-Way Sync
This plugin ensures a two-way sync between the Medusa backend and the Strapi backend. So, if you update data on Strapi, it will be reflected on your Medusa backend, and vice-versa.
Update Products on Strapi
Try updating any products on Strapi by going to Content Manager → Products and choosing a product from the list. Then, make changes to the product and click Save. If you view the products on your backend now, either using the REST APIs or using the Medusa Admin, you’ll see that the product has been updated.
Update Products on Medusa
If you try to update products on Medusa either using the REST APIs or using the Medusa Admin, you’ll see that the product is also updated on Strapi.